If you want to start advertising on Facebook and Instagram the right way, you need a Facebook pixel.
It takes just a few minutes to set it up, and the benefits of having it are amazing!
Why do I need a Facebook pixel?
Having a Facebook pixel enables you to retarget existing users and turn them into customers.
![]()
You can also optimize your ads much better to target the right audience and track very important data.
This data includes seeing when visitors:
- Viewed a specific page on your store
- Viewed a certain product in your store
- Added a product to cart
- Initiated checkout
- Purchased a product
- …and much more!
When your pixel is set up, you will get a basic view to get a general idea of what’s happening in your store.
![]()
But it gets much more detailed if you are interested in specifics. You can select a specific time frame and see when from what device and what URL they performed a specific action.
![]()
Setting the Facebook Pixel on your store
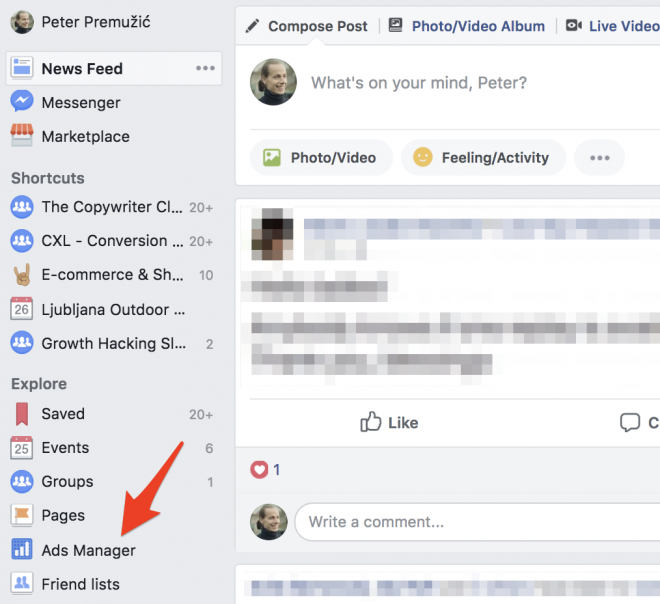
- Go to your Facebook profile and click on the Ads Manager
- Click the hamburger menu and select All tools
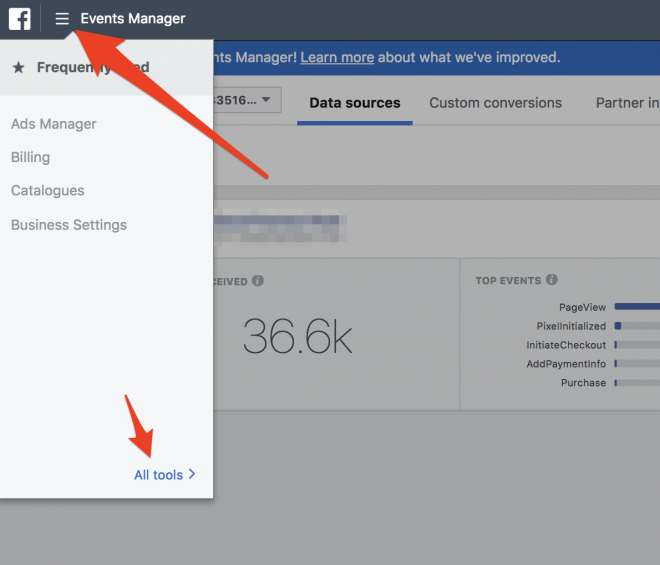
- Click on Pixels

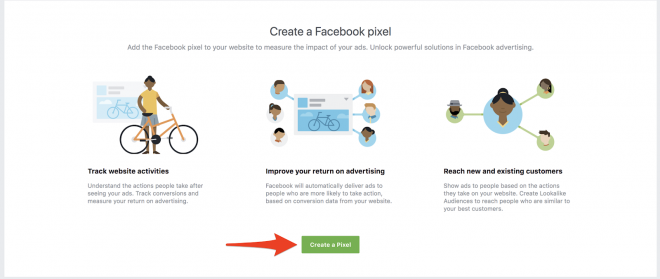
- Click on Create a Pixel
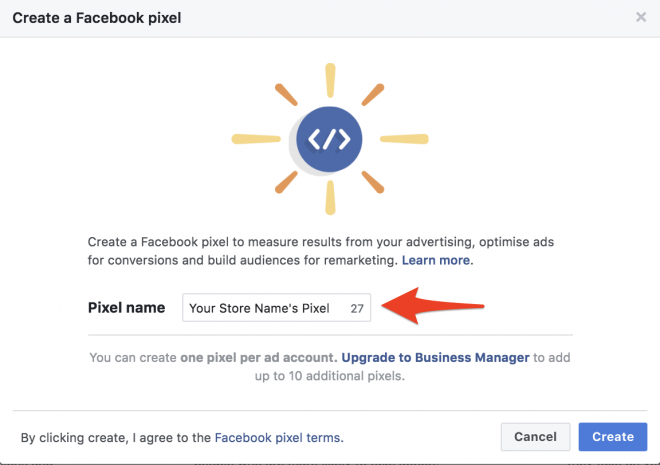
- Use your store’s name for the Pixel name then click Create
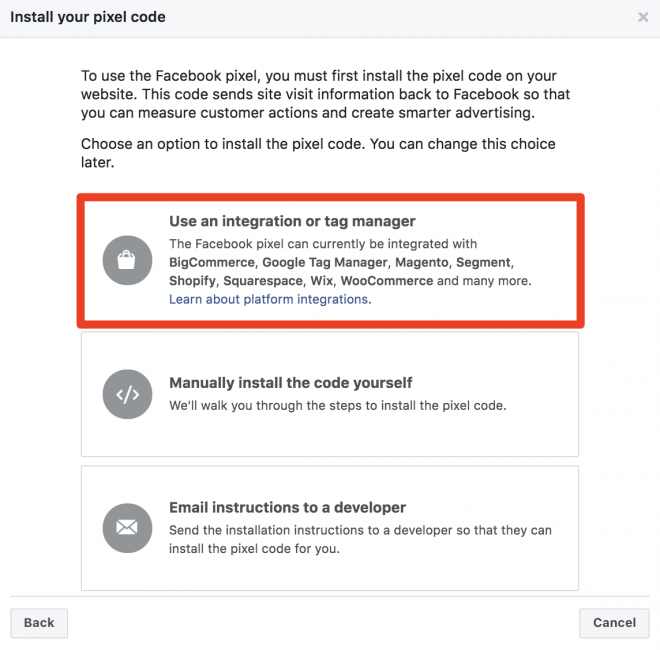
- Click Use an integration or tag manager and select WooCommerce
- Click Download and save the .zip file

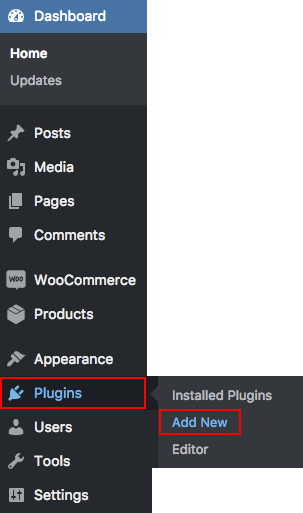
- Log in to your WordPress dashboard, click Plugins > Add New
- Click Choose File and select facebook-for-woocommerce.zip, then click Install Now and Activate.
Check if your Facebook pixel is working
Go to Facebook Ads Manager and select Pixels from the top menu. If the status is Active, your pixel is working. It may take up to 20 minutes for your pixel status to change.
Congratulations! You have successfully set up a Facebook Pixel on Your WooCommerce store!

